Ingredients: Crochet Hook>> L-8.00MM Craft Scissors // Tapestry Yarn Sewing Needle //Half a Skein of Lion Brand "Faux Fur Fun" Yarn // - "100% Acrylic" // Needle and Thread // 2 Safety pins [Not Shown] Pom pom maker
Stitch guide: HDC= half double crochet// SC=single crochet// DC=double crochet// SS= slip stitch //ST(S)= stitch(es)// CH= chain // Round[number] Row[number]
Note: I made my scrunchie a bit bigger due to my hairstyle!
First, I cut the elastic band approximately 5 inches.
From
there, I chained 17 for 16 STS, about 2 inches longer than the elastic band
length, so that there will be the element of "scrunch" within the
finished product.
For Row 1-Row 5: HDC into all of the STS, for all the rows, creating a 2TCHS once each row was complete. After the final row, (5) SS to complete work!
Next, using your
yarn sewing needle and a strand of yarn. Place a safety pin at the end
of the elastic on both sides. Now, sew around the elastic, securing it
with the yarn, weaved through the stitches. Cut yarn.
Now
with your needle and thread, sew the elastic band together securely.
After the completion of the band, sew the ends of the yarn of the
scrunchie together, once again using your yarn sewing needle and a
strand of yarn. Once you have successfully secured the scrunchie
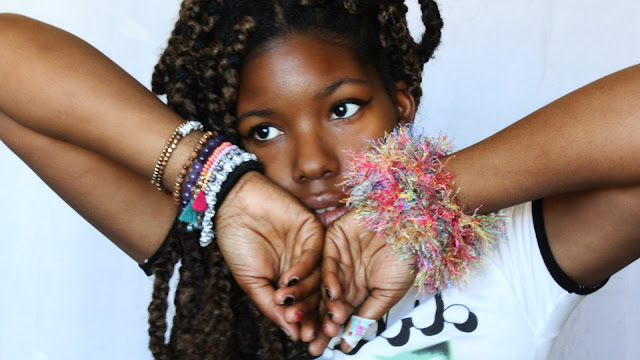
together, cut the remaining strand and it's ready to wear!
Happy Crafting!
ashlee elle.
tag your creations #thedreamcrochet


No comments:
Post a Comment