

Ingredients:
Crochet Hook>> H/8-5.50MM
Craft Scissors
Yarn Sewing Needle
Yarn used>>1 Skeins of Each from Sugar N' Cream (Colors: Black & White)
Crochet Hook>> H/8-5.50MM
Craft Scissors
Yarn Sewing Needle
Yarn used>>1 Skeins of Each from Sugar N' Cream (Colors: Black & White)
Size Small (can be created to various sizes)
Belt Buckle [from Michaels]
Belt Buckle [from Michaels]
Stitch guide:
HDC= half double crochet
SC=single crochet SS= slip stitch
ST(S)= stitch(es)
CH= chain
R[number]= Row
SC=single crochet SS= slip stitch
ST(S)= stitch(es)
CH= chain
R[number]= Row

CH 98 (or half desired waist measurement) [34 inches length] [2.5 inches width]
[Black] R1: HDC the entire Row into All of the STS, and at the end of the Row, you will change colors to start Row 2.
[White] R2: HDC the entire Row into All of the STS, and at the end of the Row, you will change colors to start Row 3.
[Black] R3: HDC the entire Row into All of the STS, and at the end of the Row, you will change colors to start Row 4.
[White] R4: HDC the entire Row into All of the STS, and at the end of the Row, you will change colors to start Row 5.
[Black] R5: HDC the entire Row into All of the STS, and at the end of the Row, you will SS to complete work.

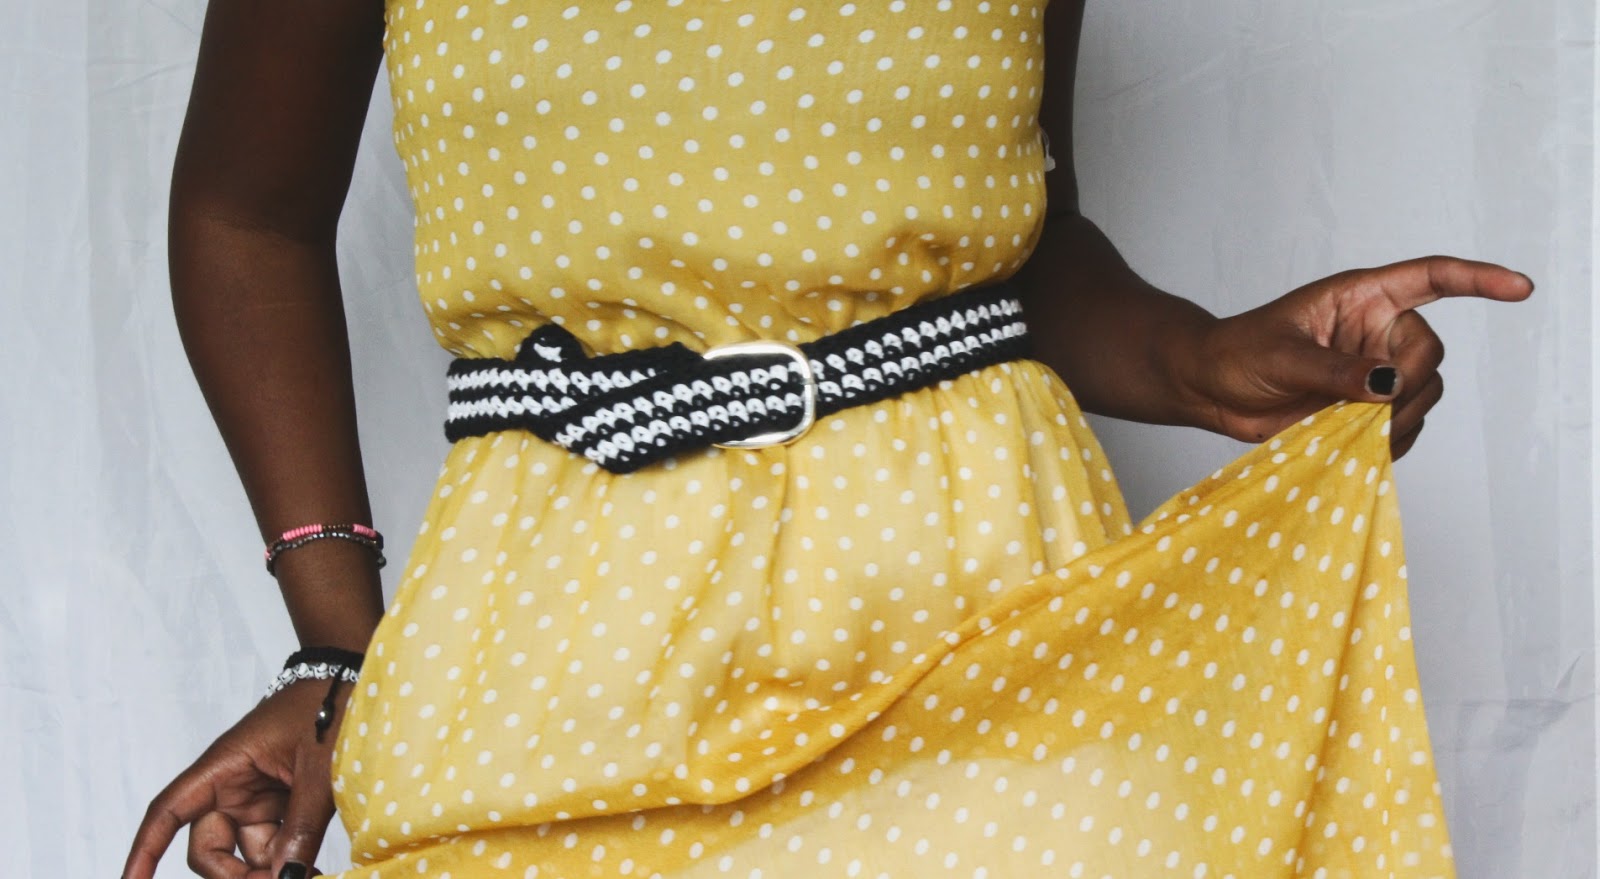
At the end of the crocheted piece, at the ends, single crochet across for a finishing technique. SS to complete work and weave in the remaining strands. [photo reference above on left.]
STEP 3
With the belt buckle, slip half an inch of the crocheted piece through the buckle, fold it over and with your yarn sewing needle, thread a bit of yarn. Sew the folded crocheted piece and sew the piece, using your yarn sewing needle. [photo reference above on right.]


x ashlee elle.
No comments:
Post a Comment