Thursday, July 24, 2014

HandMade: The Vintage Love Crochet Dress.

Hello there! Happy Thursday to you all! This dress, I must admit was quite a monster of a project. Being an experimental project I did have the idea and design in mind, though I entirely had to work with another method to make the dress what I truly wanted it to be. Now I can entirely say, I am happy with the finished product. It happens a lot when it comes to creating new ideas, sometimes they don't work out the way you hope, but I kind of like the battle (at times) even when it is incredibly frustrating!

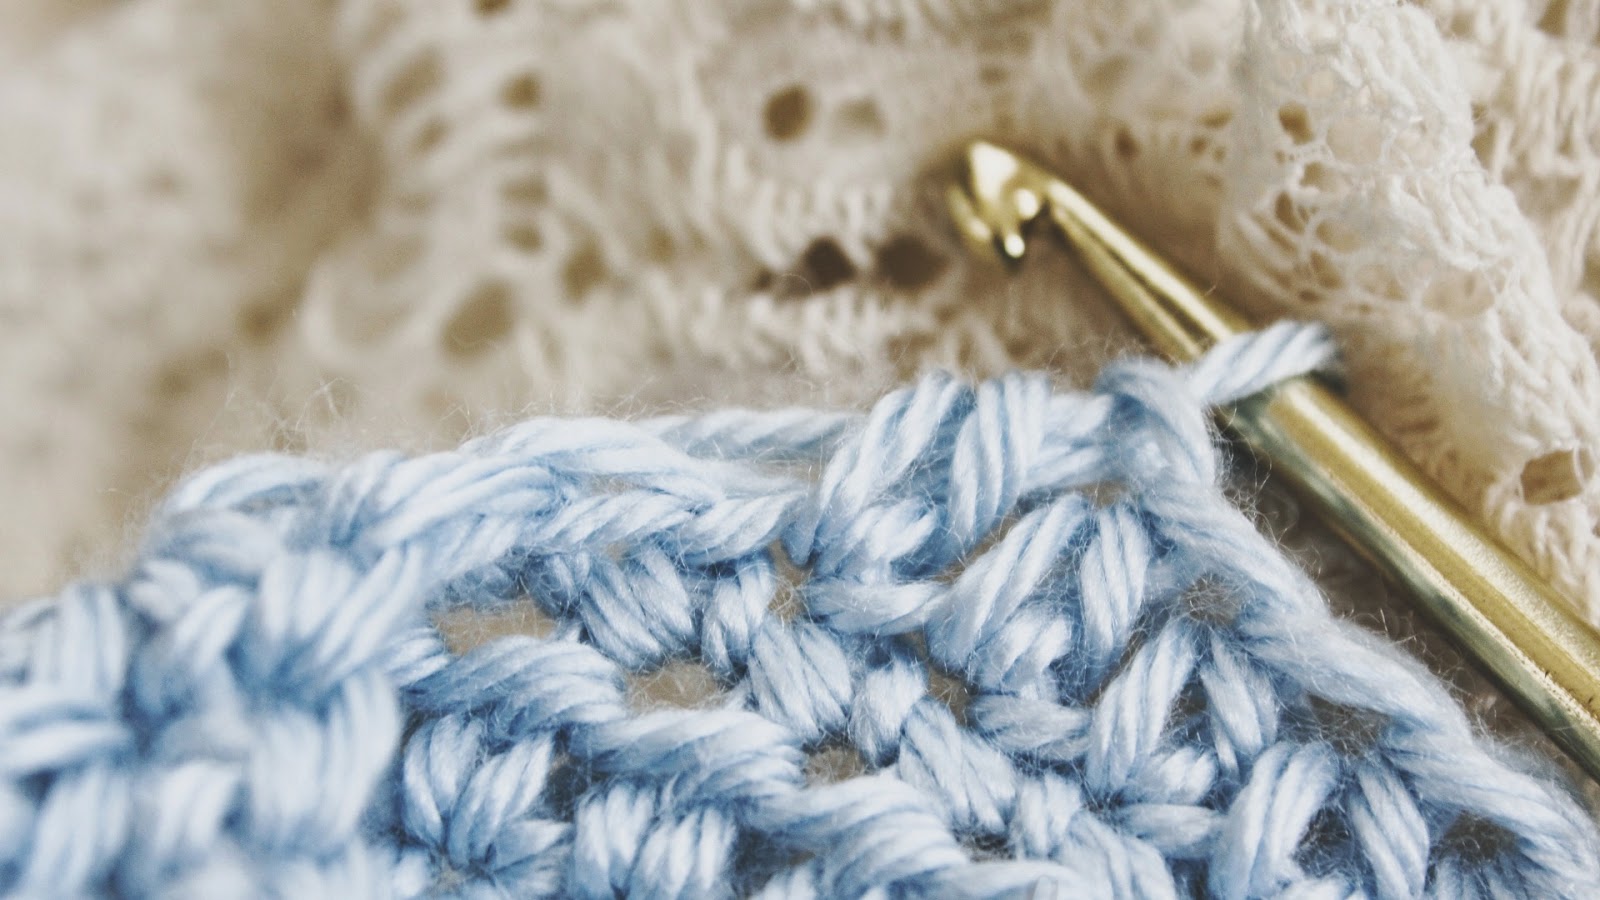
The dress was made from little individual crochet rounds that I ended up crocheting together and then crocheting all of the pieces one by one. It was a lot of sewing and a lot of impromptu techniques. I left the back top to be open without the extra crochet to create a lacy appearance and to create a bit of fun with the dress.

Project Details:
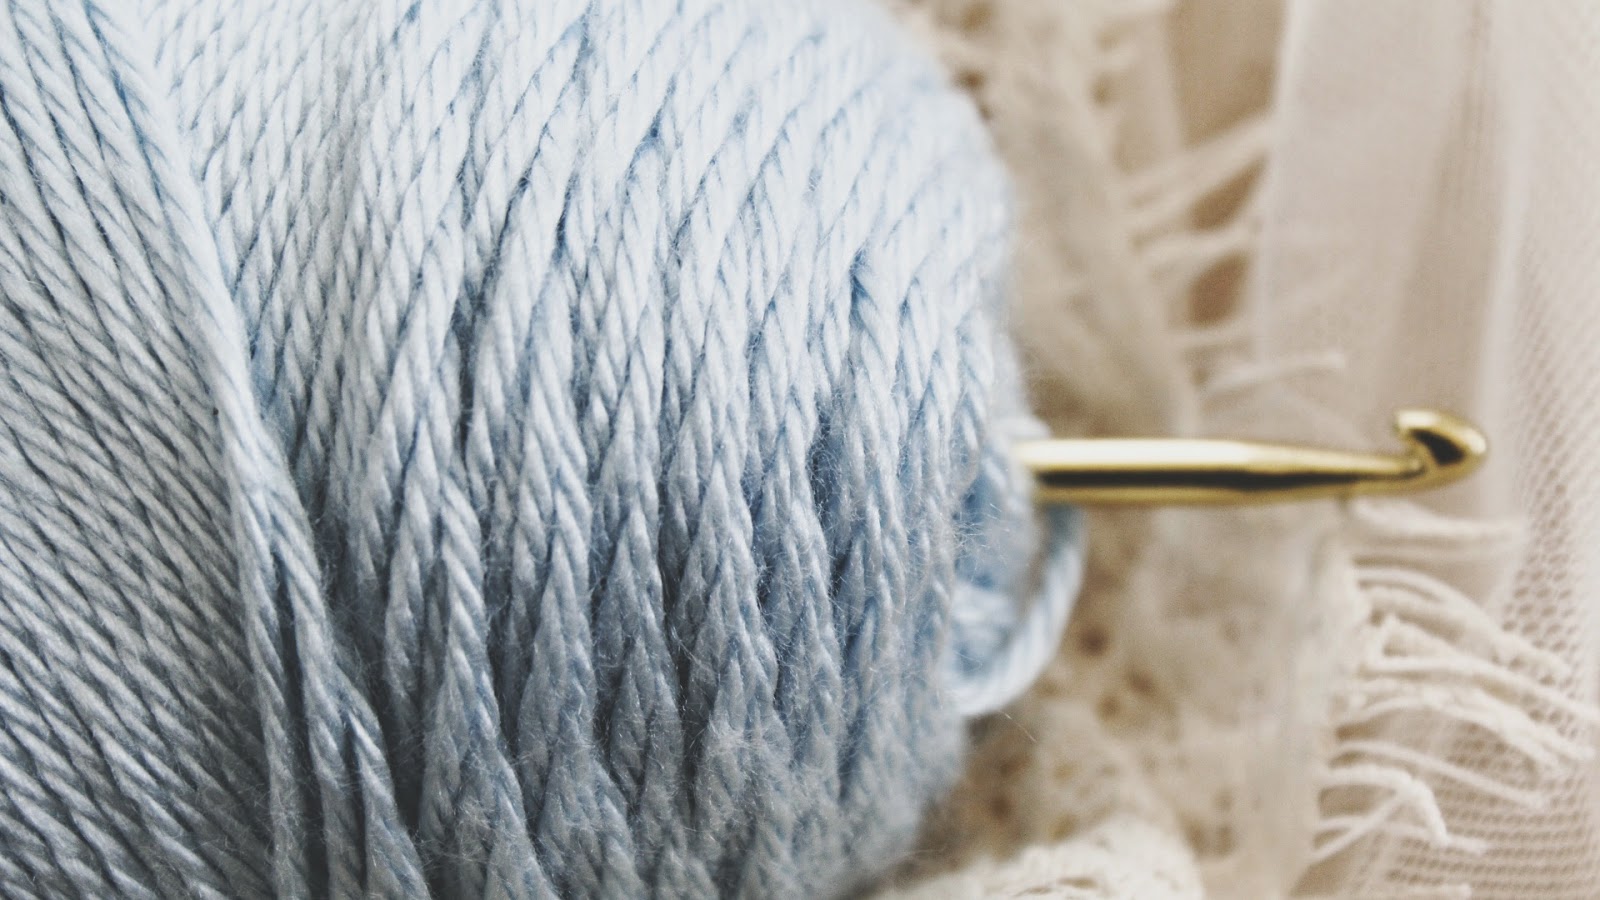
The yarn I used was Caron Simply Soft Yarn 2 skeins (baby blue)
The hook I used was a G/6 4.25MM.
The Vintage Love Crochet Dress pattern is entirely experimental, made from my own pattern.

(Will have an update soon regarding all  of the availability for the crochet patterns!

Always stay inspired and have fun creating!
ashlee elle.

Monday, July 21, 2014

DIY: The Garden Crochet Twine Headband.

This headband was inspired by flower crowns and I wanted to emulate the same earthy feel  by utilizing twine in this headband. The very best part of this crochet twine strand, is that you can wear it in numerous fashions. My personal favorite is the side twist braid with the strand intertwined throughout your hair. Creates a bit of whimsy to everyday life!
 The Ingredients:
>> Scissors
>> Crochet hook (G/6-4.25MM)
>> 1 Skein of Yarn (White, Caron Simply Soft/Twine)


Crochet Abbreviations: 
HDC= half double crochet 
SS= slip stitch
CH= chain  
ST(S) = stitch(es)  

From Left to Right:
CH 101 (using the twine)
 In the 51st CH 
Insert the white yarn by SS
CH 2, HDC into the same ST
SS into the same stitch
CH 2, HDC into the same ST
SS into the same stitch
CH 2, HDC into the same ST
SS into the same stitch
CH 2, HDC into the same ST
SS and cut off.
You will create a total of 12 of these little bundles. 
By skipping two STS on both sides of the originally placed bundle.

You will also create two bundles at the beginning and end of the chain.
Have fun creating!
ashlee elle.

Thursday, July 17, 2014

HandMade: The Crossed Crochet Suspender Skirt.

This has to be one of my favorite crochet pieces as of yet. With my lovely obsession of anything that has suspenders attached to it, this design popped into my head and I could not wait to make it! Now that I have, I'm ready to make more, many many more!

This suspender dress, follows the usual method in which I create my skirts with an elastic waist, I simply attached straps that criss cross in the back. It is insanely comfortable and can be worn with a slip or a pair of biker shorts underneath. The next time I create this design, I will probably create adjustable straps to wear either straight or criss cross if I choose to! I will most likely evolve the pattern, tight stitches that is, to fit the Fall and Winter seasons. (Yes, my mind is already on the approaching season! Can't help it!)

Project Details:
The yarn I used was Caron Simply Soft Yarn (Lilac)
The hook I used was a G/6 4.25MM.
The Crossed Crochet Suspender Skirt pattern is entirely experimental, made from my own pattern!


Have fun crafting!
ashlee elle.

Wednesday, July 16, 2014

On My Hook.

Currently, I am working on this lovely baby blue shade from the Caron Simply Soft yarn, attempting to figure out which direction I am going with this project. I have two sketches in mind for this project; however, one truly takes precedent over the other and I cannot help, but want to make one more the other. Hopefully, the concept will come out exactly how I perceive it in my mind, if so, it'll probably be one of my favorite dresses to date!

Now I am off to work more on this project, quite excited! 
What projects are you currently working on?
ashlee elle.

Tuesday, July 15, 2014

DIY: Crochet Sunflower Headband + Ponytail Holder.

When it is summer time, I immediately think of sunflowers which happen to be my absolute favorite flower. So this idea was a bit past due! It's a fun accessory that can be style in numerous eclectic ways. There are two different versions, the sunflower headband as well as the sunflower ponytail holder.
The Ingredients:
>> Scissors
>> Crochet hook (G/6-4.25MM)
>> 2 Skeins of yarn (I used Red Heart, Mustard yellow and Dark Brown)

>> Yarn sewing needle
>> Pony tail holder


Crochet Abbreviations: 
HDC= half double crochet 
SS= slip stitch
CH= chain  
ST(S) = stitch(es)  


*Note: For the headband and ponytail are the same pattern except for the last photo!
From top left to right:
With the dark brown yarn to create the base of the flower.
CH 3
Connect the last ST to the very first ST with a SS
HDC into the middle of the connected CH 5 times
Connect the last ST to the the beginning one
HDC two times in each ST around the circle.
SS and cut the yarn to sew in.
From top left to right:
With the mustard yellow yarn to create the petals.
Connect the yarn with a SS.
CH 5
HDC into every 5 STS
SS into the following ST
CH 5
HDC into every 5 STS
SS into the following ST
Repeat this method around until you reach the beginning of the round.
For the headband, depending on the circumference of your crown. Chain as many that will fit around comfortably and connect the first ST to the very last ST. 
Once the headband chain is complete, you will sew the middle of the chain to the back of the finished sunflower.
*Now for the sunflower pony tail holder, you will sew the holder to the back of the sunflower.
Hope you enjoyed the sunflowers! Have fun crafting!
ashlee elle.

Monday, July 14, 2014

The Crochet Life: Back To It + Crochet Crown.

Hello there! I have returned from a small staycation where I rested it a bit and allowed my hands a bit of time off. It's always good thing to do for yourself. I must say, it was quite a relaxing moment and very, very necessary one as well! Though I will be moving in a few weeks, but I am more than entirely excited and ready to create crochet handmade home goods for my place!

Also, I have been wanting to create a crochet crown for quite awhile now and I've finally got to it! I found a video tutorial [found here] which will create the crown that I am wearing. It's entirely whimsical and I couldn't help, but feel the fantasy element of donning such an item. Hope you make one too!

Truly, I would also like to thank Kelboune Woolens Blog, for featuring my crochet work on their website, such warm kind hearted words, entirely made my day and I truly appreciate the mention!
Here's to the beginning of the week, hope you have a lovely one!
ashlee elle.