Showing posts with label dreamcrochet. Show all posts

Tuesday, June 7, 2016

DIY // Crochet Fusion // Crop Top Dress Free Pattern!

Hello there! I hope you all had a lovely weekend! I love the idea of reusing or reconstructing pieces that have the opportunity of becoming more than what they were originally created to be. Which is why when I purchased this crop top from a Plato's Closet (which is known to recycle reused clothing) I knew it was a great find and a great diy project to share!

Also, be sure to check out, DREAM CROCHET ON YOUTUBE for future free crochet videos!

Ingredients:     Crochet Hook>> H/8 5.50MM  Craft Scissors // Tapestry Needle // 5 Skeins of Sugar N Cream Yarn // Medium 4 // Crop Top // Needle and Thread // Measuring Tape
  Stitch guide:    HDC= half double crochet// SC=single crochet// DC=double crochet// SS= slip stitch //ST(S)= stitch(es)// CH= chain R[number]= Row

STEP ONE
Measure the bottom of the crop top, the exact circumference. You will be utilizing the sizing for the exact chain in inches. For my top I acquired 25.5 inches.

STEP TWO
Next, you will begin crocheting the bottom of the dress.
CH 73 using the measurements from STEP ONE to equal out.
R1: HDC into every ST for the entire Row, at the end of the Row SS to connect the first Row solely and pause at this STEP.

STEP THREE
Next, threading your needle, you will place Row 1 on to the Bottom of the crop top (about a half an inch) or so, sewing the HDC STS unto the fabric. [Side note: I wanted to sew my crochet on top of fabric instead of under it.] Once the crocheted Row 1, is sewn in securely you will continue from STEP TWO to create the bottom of the dress.
STEP TWO CONTINUED..
Starting the Increase // R2: CH 2, DC into the first ST, DC into the following ST as well, into the third ST, [DC, CH 1, DC again into the same ST] next, DC into the following 2 STS only once, into the next ST, [DC, CH 1, DC again into the same ST]... (You will repeat this method until the end of the ROW, SS to connect work.]
 R3-R15: CH 2, DC into the first ST, DC into the next ST as well, into the middle third CH from the previous Row [DC, CH 1, DC] You will DC THREE TIMES into the ST...

Next, DC into the following 2 STS only once, into the next ST, into the middle third CH from the previous Row [DC, CH 1, DC] You will DC THREE TIMES into the ST... (You will repeat this method until the end of the ROW, SS to connect work.] At the final Row of 15, SS to complete final work.
FINAL LENGTH: 15 inches 
Note: If you desire the length to be longer, simply repeat from Row 4 onward. 
Tag your creations with #dreamcrochet
Happy Crafting!
Ashlee Elle.  
Tuesday, June 9, 2015

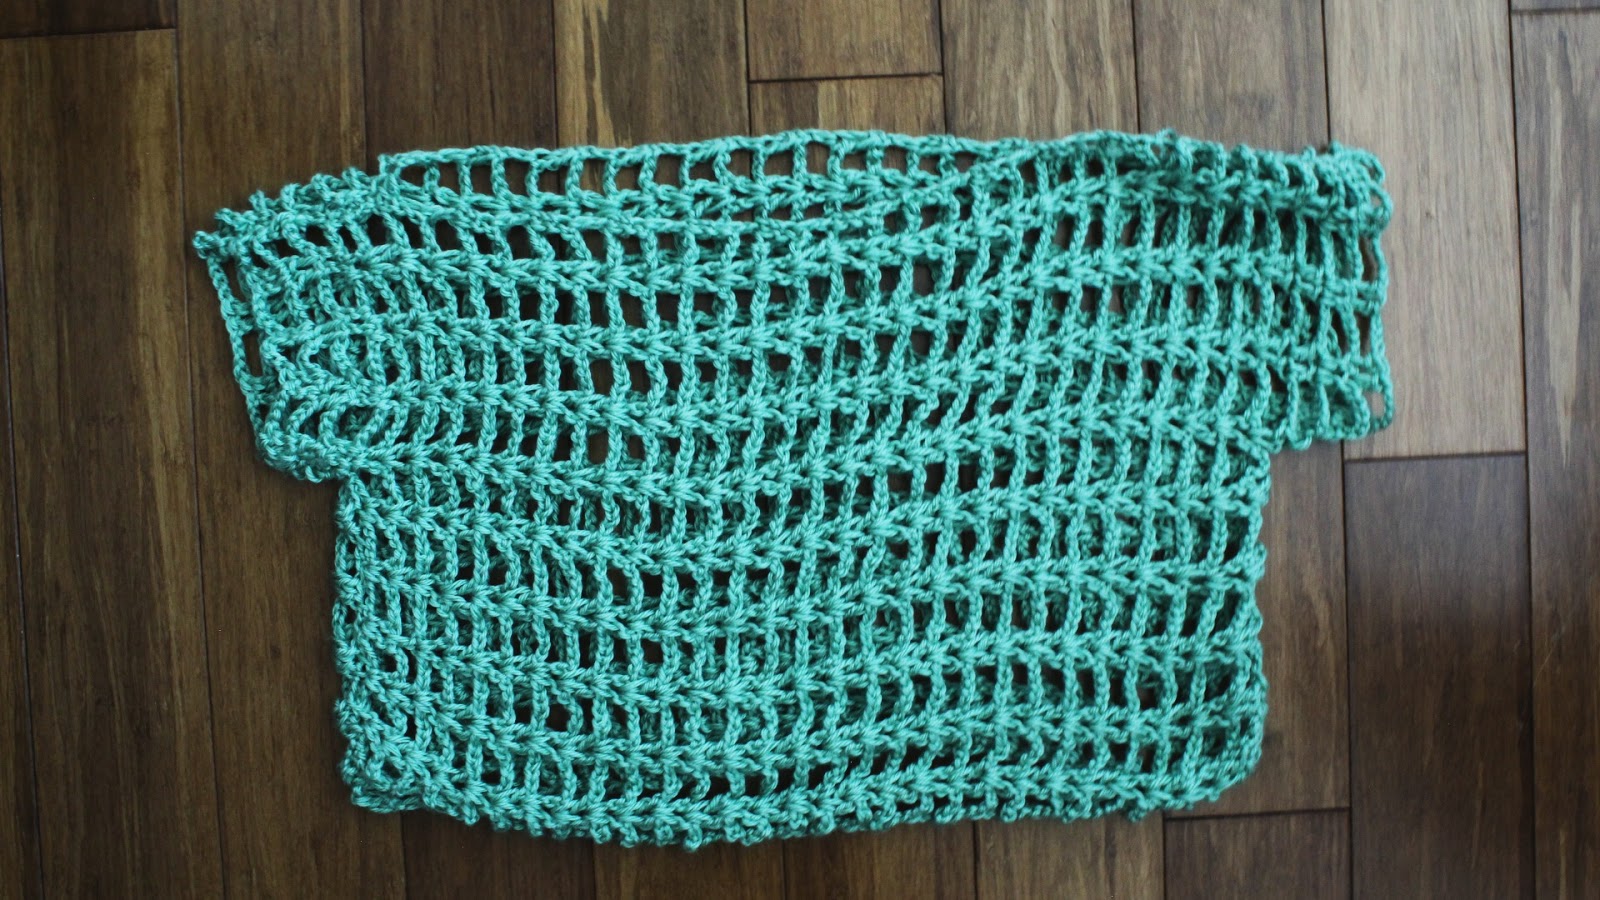
DIY: The Easy Crochet Summer Top! Free Crochet Pattern!

Hello there! Wanting to create a super easy crochet top for the Summer, I whipped up this pattern that doesn't take a handful of time to make and is quite perfect to wear! I love overlaying lacy tops over dresses so this top will for sure be a piece I will wear over and over! Hope you enjoy!
Ingredients:    
Crochet Hook>> H/8-5.50MM 
Craft Scissors  
Yarn Sewing Needle

Yarn used>>1 Skein Green (Caron Simply Soft Yarn) Medium 4
 
Stitch guide:  
HDC= half double crochet   

DC= double crochet   
SC= single crochet
SS= slip stitch
ST(S)= stitch(es)
CH= chain
R[number]= Row


Step 1
This is to start the top. You will be working from vertically to create the top
CH 61 (or half desired waist measurement) 

R1-R29: DC into the first ST, *CH 3, Skip 3 STS, DC [two times] into the following ST, CH 3, Skip 3 STS, DC [two times] into the following ST...[*Repeat method until the end of every Row, turn work after each Row, at the end of Row 29, the very last Row SS to complete work.]
 Note: You will be create STEP 1 TWICE.
Once both of the pieces are created, for the FRONT and the BACK of the top.
Turn the vertical crocheted piece Horizontally to begin the armhole/sleeves of the top.
Note: You will be creating the armholes for EACH side of the vertical crocheted piece.

Step 2
This step is to create the armholes/sleeves of the top. Note: You will be inserting hook into the 5th [double DC/ see photo] down.
R1-R3: DC into the first two STS, *CH 3, Skip 3 STS, DC two times into the following STS...
[*Repeat method until the end of every Row, turn work after each Row, at the end of Row 29, the very last Row SS to complete work.]

Step 3
(This step is to sew the crocheted pieces together to create your top.) Once both of the parts of the top are created. Lie both pieces flat. Now sew the sides together, leaving the armholes, the neckline and the bottom of the top free.

x, ashlee elle.

Thursday, April 9, 2015

HandMade: The Whimsy Crochet Top! Pattern Now Available!

Hello there! Hope you're having a lovely week! This handmade crochet top was inspired by baby doll dresses and easy breezy Spring days. I wanted to create a top that had a mixture of being form fitting as well as roomy. It's entirely a design I plan on recreating in different styles as well as colors.

What I love about this top, is that it doesn't feel heavy at all and I can entirely wear it year round. One of the main things I strive to aim for when creating items is versatility and a strong comfort level. This top owns both of those wondrous attributes and I absolutely love wearing it!

Get The Whimsy Crochet Top Pattern at:

x ashlee elle.